Happy Feet Make Happy Golfers
Share
Perfecting Your Home Pedicure:
Step-by-Step Guide to Pampering Your Feet
Hello, beautiful readers! With the warm weather approaching, it's the perfect time to give your feet some much-needed TLC. There's no need to rush to a salon when you can achieve salon-quality results right at home. Let's dive into a step-by-step guide to a fabulous home pedicure that will leave your feet feeling soft, smooth, and ready to show off in your favourite sandals!

Step 1: Gather Your Supplies
Before you begin, make sure you have all the essentials:
- Foot soak or bath salts
- Nail clippers
- Nail file
- Cuticle pusher
- Cuticle oil
- Foot scrub (See our homemade recipe!)
- Pumice stone or foot file
- Moisturizing lotion or foot cream
- Base coat, nail polish, and top coat
- Cotton balls or pads
- Toe separators (optional)
Step 2: Set the Mood
Create a relaxing atmosphere to make your pedicure experience enjoyable:
- Light some scented candles.
- Play your favourite soothing music.
- Find a comfortable seat where you can sit back and relax.
Step 3: Soak Your Feet
Fill a basin or tub with warm water and add your foot soak or bath salts. Soak your feet for 10-15 minutes. This helps to soften the skin and nails, making them easier to work with. Use this time to unwind and enjoy the tranquillity.
Step 4: Shape Your Nails
After drying your feet, trim your nails straight across using nail clippers to avoid ingrown toenails. Use a nail file to smooth the edges and shape them to your liking. Remember to file in one direction to prevent splitting.
Step 5: Care for Your Cuticles
Gently push back your cuticles with a cuticle pusher. If needed, apply a small amount of cuticle oil to soften them before pushing. Avoid cutting your cuticles as this can lead to infection.
Step 6: Exfoliate
Apply a foot scrub and massage it into your feet, focusing on the heels and any rough areas. This helps to remove dead skin cells and leaves your feet feeling soft. Rinse off the scrub with warm water.
Step 7: Smooth Out Rough Spots
Use a pumice stone or foot file to tackle any remaining rough spots on your heels and the balls of your feet. Gently buff the areas until they feel smooth. Don’t be too harsh to avoid damaging your skin.
Step 8: Moisturize
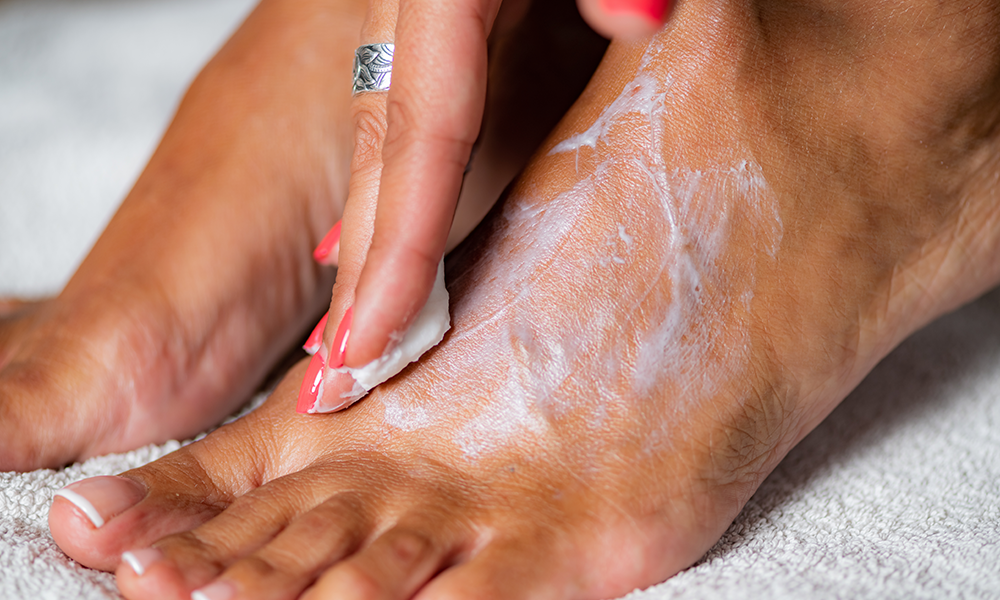
Massage a rich foot cream or moisturizing lotion into your feet and lower legs. This not only hydrates your skin but also improves circulation and relaxation.
Step 9: Prepare for Polish
Wipe your nails with a cotton ball or pad soaked in nail polish remover to get rid of any oils or lotion residue. This ensures that your nail polish adheres better and lasts longer.
Step 10: Apply Nail Polish
Now for the fun part! Apply a base coat to protect your nails and create a smooth surface for the polish. Once the base coat is dry, apply two thin coats of your chosen nail polish colour, allowing each coat to dry before applying the next. Finish with a top coat to seal and add shine. If you have toe separators, use them to keep your toes apart and prevent smudging.
Step 11: Let Your Nails Dry
Patience is key! Allow plenty of time for your nail polish to dry completely. Relax and enjoy this moment – maybe catch up on a good book or watch an episode of your favourite show.

Final Tips for Beautiful Feet
Consistency is Key: Regular maintenance helps keep your feet looking their best.
Stay Hydrated: Drinking plenty of water helps keep your skin soft and supple.
Protect Your Feet: Always wear comfortable shoes that fit well to avoid blisters and calluses.